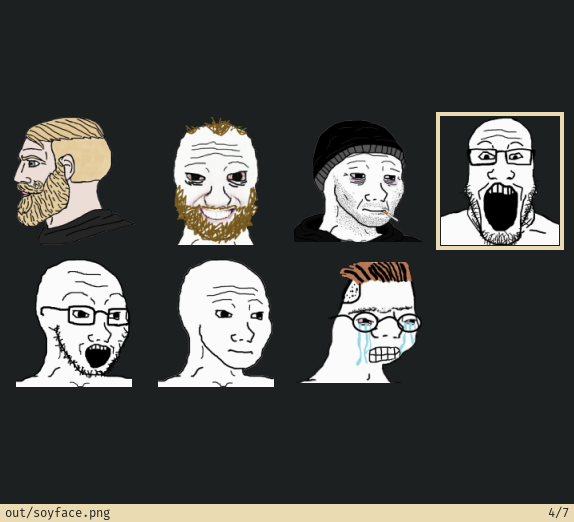
Using imagemagick  to crop soy faces
I’m pretty sure everyone knows that sometimes finding a good PNG can be very hard, while there’s always a bunch of the same JPEG images with the white background.
After searching for 10 minutes, you decide to remove background yourself - using GIMP or something like Photoshop or PAINT.NET if you are on Windows. Forget about it! I’m gonna show you how you can use imagemagick to automate basic tasks like removing background and cropping images.
Telegram sticker pack
Every time I use Telegram stickers, I feel tired scrolling through many different packs trying to find the sticker I want. Sometimes, you just want them all to be in one place. That’s why I created Based Wojak - a sticker pack which is automatically generated from random source images that I find on the internet.

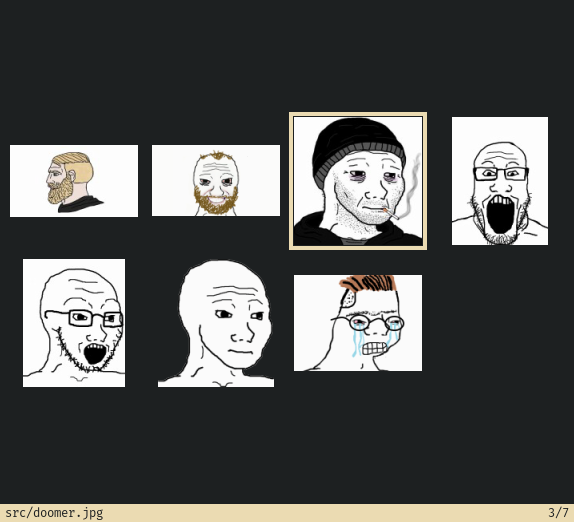
It doesn’t matter if the image has a white background or wrong resolution, I just put it in the src folder and then magic  happens. For example, these are the source images used to generate the stickers above:

The collection itself is very small right now as you can see, but I plan to extend it as I need more stickers. Add this pack:
https://t.me/addstickers/BasedWojak
Imagemagick
Now, let’s see how I’ve done that. Here’s the GitHub repo so you can follow:
https://github.com/eug-vs/telegram-based-wojak
You know, I love Makefiles. I use them everywhere (where they’re appropriate), even this website is generated by a Makefile. Let’s have a look at the Makefile for telegram-based-wojak:
# Makefile
SOURCES=$(wildcard src/*)
OUTPUTS=$(patsubst src/%.png, out/%.png, $(patsubst src/%.jpg, out/%.png, $(SOURCES)))

SIZE=512x512
FUZZ=50%

VIEW_COMMAND=sxiv -t


all: $(OUTPUTS)

view: all
	$(VIEW_COMMAND) out

viewsrc:
	$(VIEW_COMMAND) src

out/%.png: src/%.*
	@mkdir -p out
	magick $< \
		-fuzz $(FUZZ) -fill none \
		-floodfill +0+0 white \
		-floodfill "+%[fx:w-1]+0" white \
		-trim +repage \
		-resize $(SIZE) $@

clean:
	rm -rf out
On the first two lines I just create variables for input and output images. Then I define the SIZE - Telegram expects sticker’s largest side to be 512px. The value of FUZZ determines the sensitivity of removing the background - I use 50%, but that’s just something you can play with.
Now let’s have a closer look at the recipe for creating out/%.png from src/%.*. I use magick on the input file (denoted by $<), then pass a whole bunch of parameters to it, and finally provide the output file ($@). If you are confused by $< and $@, check out Makefile cheatsheet.

Removing the background
To remove background, I use -floodfill, here’s how imagemagick wiki describes it:
-floodfill {+-}x{+-}y color
Floodfill the image with color at the specified offset.
Flood fill starts from the given ‘seed point’ which is not gravity affected. Any color that matches within -fuzz color distance of the given color argument, connected to that ‘seed point’ will be replaced with the current -fill color.
I use it two times: one in the top-left corner and one in the top-right. Top-left corner pixel obviously has a coordinate +0+0. To get the X coordinate of right-most pixel I have to use this expression: +%[fx:w-1], Y coordinate stays at 0 of course. Since I already supplied -fuzz and -fill none, both operations will replace the white background with none, starting from two top corners of the image using the supplied fuzziness value.
Cropping the image
After we removed background, most of the time we can trim a lot of extra space so that our image size corresponds to its content. Simple -trim +repage does the trick.
Adjusting the size
All we have to do now is to make sure the sticker respects the size with -resize option. It will resize it in a way so it fits into 512x512 box without changing the aspect ratio (largest side will always be 512px).
